
Eeschemaで回路図のSymbol作成(KiCadでは、Componentとしているので)改めComponent作成するには、
まず、新規Libraray用にディレクトリを作っておく。
ここでは、kicad_ulibとでもしておく。
[hoge]$ mkdir kicad_ulib |
でkicadw起動してprojectを設定(新規でもいい)してEEschemaを起動。
EEschemaのメインメニューより[Tool]→[Library Editor]を選択するかその下段のスピードボタンより
 を押すと、
を押すと、
で、そのLibrary Editorのスピードボタンから
 を押すと、下図のようなダイアログが開く。
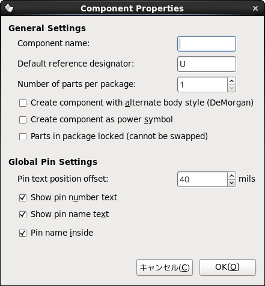
Component nameとDefault reference designator(回路記号の頭文字)を入れる。
ここでは、PanasonicさんのMPモーションセンサAMN31112のComponentを作ることとする。

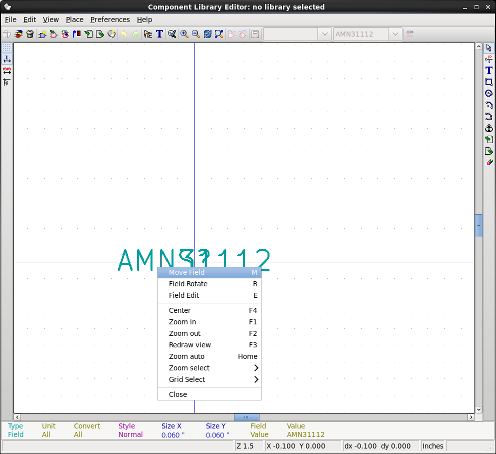
最初の状態は、Component nameとDefault reference designatorが重なった状態になって
うっとうしいので移動したい文字列の上でマウス右クリックでpopupメニュー開いて[Move Fieled]を選択して動かす。
でwindowの右側ボタン
 でLineを引き
zcで円弧を描く。
でLineを引き
zcで円弧を描く。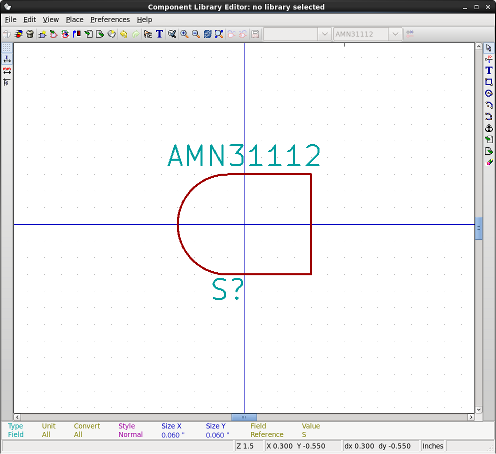
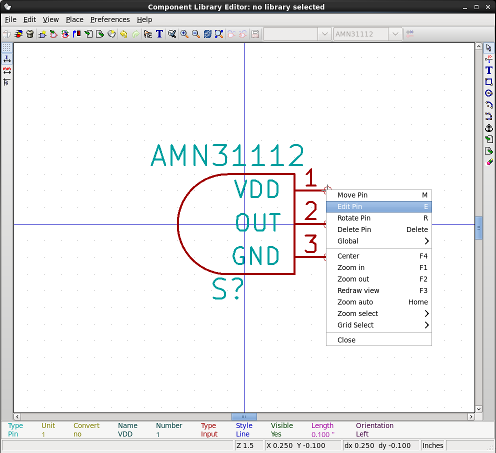
 でpinを付ける。
pinを付けたい場所をクリックすると以下のようなPin Propertiesダイアログが表示されるので
pin名,pin番号等の必要箇所を編集して[OK]

Pin Propertiesダイアログが表示されて編集しなおせる。
で、これで1つのComponentができたわけだが、まだsaveもしていない。
Componentは、1つのLibraryファイルの中に複数入れる形式なので
ここで、新規Libraryとして保存することになる。
メインメニュー下のボタン群より
 を押して最初に作ったDirectoryの下に
my_lib_sensor.libという名前で保存してみた。
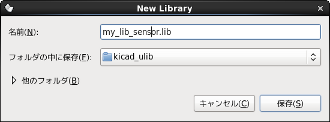
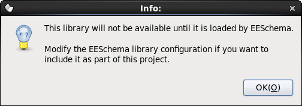
ここでは気にせず[OK]。
これで、新規Componentと新規Libraryの作成が完了したのでLibrary Editorを終了させる。
で、EESchemaでメインメニューより[Preferences]→[Library]で
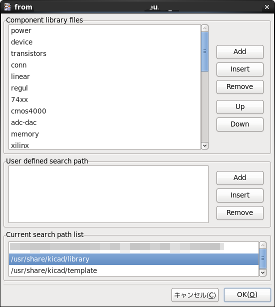
kicad_ulibディレクトリを選択して[OK]
そうしたら
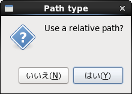
[はい]だと相対path、[いいえ]だと絶対pathで設定される。
ここでは、[はい]で設定してみた。
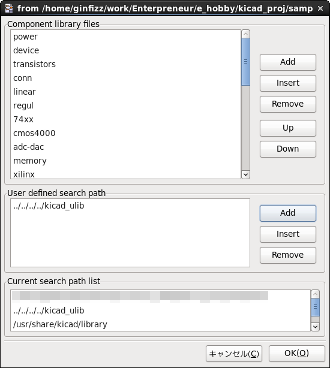
次に一番上のComponent library filesのところで[Add]して
さっき作ったmy_lib_sensor.libを選択して[OK]。
そうすると、Component library filesのscrool barを一番下まで下げると
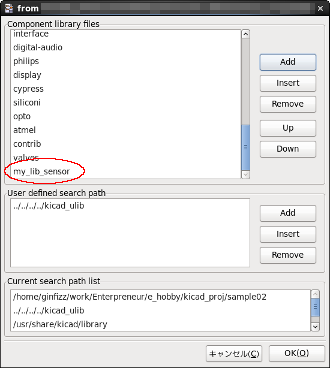
保存すると、今後sample02.proで先ほどのComponentが常に使えるようになる。