
|
| since 2012.10.14 |
| last update 2013.07.22 |
|
|
|
|
| TopPage > Android関係 |
| Contents |
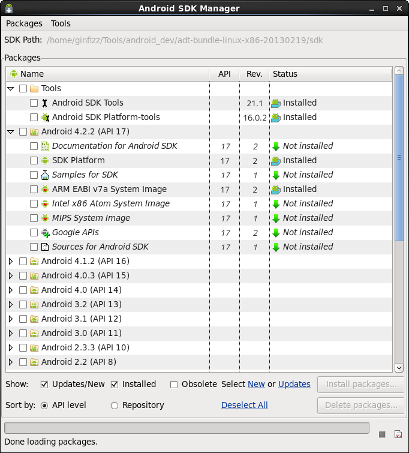
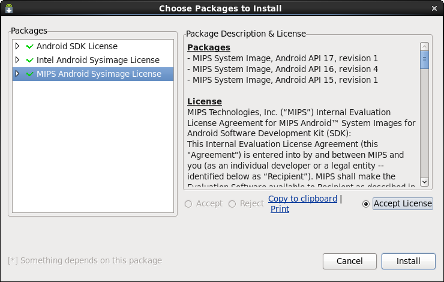
[hoge]$ unzip adt-bundle-linux-x86-20130219.zip |
PATH=$PATH:$HOME/Tools/android_dev/adt-bundle-linux-x86-20130219/sdk/tools:$HOME/Tools/android_dev/adt-bundle-linux-x86-20130219/sdk/platform-tools export PATH |
[hoge]$ source ~/.bashrc ←再ログイン時は不要 [hoge]$ android & |
[hoge]$ tar zxvf eclipse-jee-juno-SR2-linux-gtk.tar.gz [hoge]$ cd eclipse [hoge]$ ls about.html configuration eclipse.ini icon.xpm p2 about_files dropins epl-v10.html libcairo-swt.so plugins artifacts.xml eclipse features notice.html readme |
| Juno | : | 4.2.x |
| Indigo | : | 3.7.x |
| Helios | : | 3.6.x |
| Galileo | : | 3.5.x |
| Ganymede | : | 3.4.x |
| Europa | : | 3.3.x |
[hoge]$ unzip pleiades_1.4.0.zip [hoge]$ ls eclipse.exe -clean.cmd pleiades-1.4.0.I20130222 plugins features pleiades_1.4.0.zip readme [hoge]$ cp -r ./plugins/* 解凍したdirectory/eclipse-jee-juno-SR2/plugins/ [hoge]$ cp -r ./features/* 解凍したdirectory/eclipse-jee-juno-SR2/features/ |
-javaagent:plugins/jp.sourceforge.mergedoc.pleiades/pleiades.jar |
[hoge]$ unzip pleiades_1.4.0.zip [hoge]$ ls eclipse.exe -clean.cmd pleiades-1.4.0.I20130222 plugins features pleiades_1.4.0.zip readme [hoge]$ cp -r ./plugins/* 解凍したdirectory/eclipse-jee-juno-SR2/plugins/ [hoge]$ cp -r ./features/* 解凍したdirectory/eclipse-jee-juno-SR2/features/ |
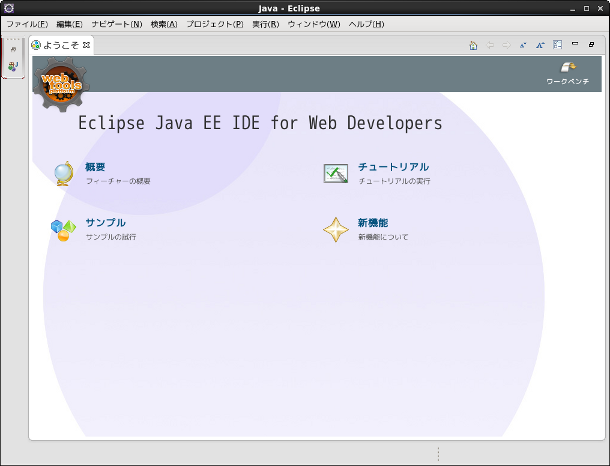
[hoge]$ cd 解凍したdirectory/eclipse-jee-juno-SR2/ [hoge]$ ./eclipse & |
|
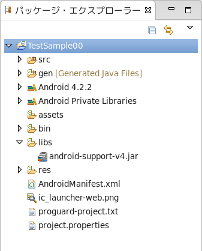
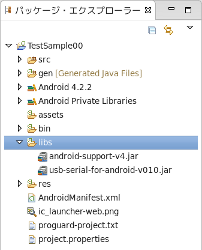
Eclopseで使う外部ライブラリ(.jar)の追加
以下の手順でEclipse projectにサードパーティJARを追加して使用することができます。 1.パッケージエクスプローラパネルの中でサードパーティJARを追加したいプロジェクトを右クリックしてプロパティを選択してください。 2.Javaのビルド・パスを選択してライブラリタブを選択してください。 3.外部Jar追加(X)ボタンを押して追加したいJARを選択してください。 他の方法としては、もしあなたがあなたのパッケージにサードパーティJARを含めておきたいなら そのプロジェクトの中にそれら用のディレクトリを作成してライブラリの追加ボタンで追加することもできます。 assetフォルダの中に外部JARファイルを置く必要はありません。 |
| コピー前 | コピー後 |
|
|
<activity
    android:name="..."
    ...>
  <intent-filter>
    <action android:name="android.hardware.usb.action.USB_DEVICE_ATTACHED" />
  </intent-filter>
  <meta-data
      android:name="android.hardware.usb.action.USB_DEVICE_ATTACHED"
      android:resource="@xml/device_filter" />
</activity>
|
[hoge]$ lsusb Bus xxx Device xxx: ID xxxx:xxxx Linux Foundation 2.0 root hub Bus xxx Device xxx: ID xxxx:xxxx Linux Foundation 2.0 root hub ........ Bus 00x Device 00x: ID 18d1:4e42 Google Inc. |
[hoge]$ adb devices List of devices attached ???????????? no permissions |
[hoge]$ adb devices List of devices attached xxxxxxxxxxxxxxxx device xxx..のところは、Nexus7の個別のシリアル番号を表示している |
win prompt> adb tcpip 5555 restarting in TCP mode port: 5555 ここでしばらく待ってもプロンプトが帰ってこなかったらCTRL+Cで強制復帰でもいい win prompt> adb connect xxx.xxx.xxx.xxx:5555 <--xxx.xxx.xxx.xxxは実機のIP address connected to xxx.xxx.xxx.xxx:5555 <--ここを実行したらeclipseのDDMSの画面にwifi接続した実機が表示される。 win prompt> adb logcat |
win prompt> adb disconnect xxx.xxx.xxx.xxx:5555 |
win prompt> adb usb |
| TopPage > Android関係 |